
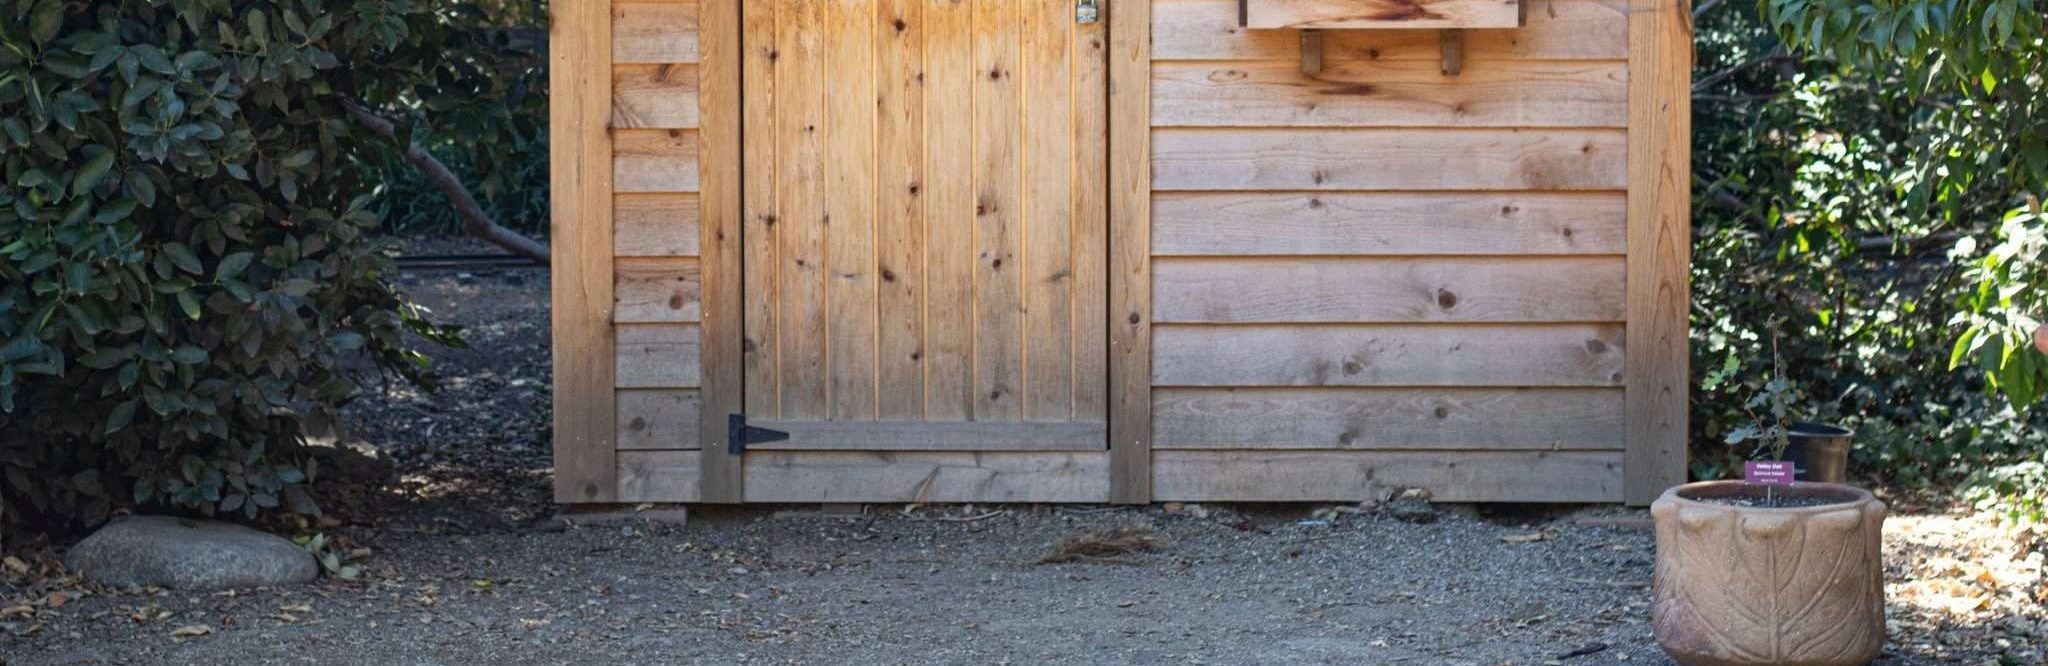
No matter if you’re installing a new garden shed or a work shed – your shed floor needs to be able to handle whatever might be thrown at it.
Traditionally, concrete slabs, paving stones or a concrete base might have been used, and though effective, they can be expensive, have a high installation time and are not a sustainable solution. That’s where Bodpave comes in, a durable, permeable ground reinforcement grid, that is ideal for your shed foundation.
Why Use a Plastic Shed Base?
BodPave is a high-strength, interlocking plastic grid system designed for ground reinforcement. Originally used for driveways, pathways and car parks, it has proven to be an excellent choice for shed bases due to its durability. It is manufactured in the UK to the Control Standard of BS EN ISO 9001:2015, so you can rest assured you’re getting a quality product that complies with all regulations.
But why choose to install Bodpave over the traditional poured concrete?
Drainage
One of the main negatives of a concrete shed base is drainage problems. In the UK, where bad weather is rife, poor drainage can lead to flooded sheds, structural damage, damp and can even rot pressure treated timber sheds.
As a Sustainable Urban Drainage Solution (SuDS), Bodpave presents a permeable solution. It allows rainwater to naturally drain away into the ground below. In turn, this prevents water pooling and makes sure that your shed remains dry, damp free and secure. The full permeability of BodPave complies with all the latest regulations concerning water runoff.
Strength
Despite being lightweight, BodPave is incredibly strong. It can be filled with gravel to aid in evenly distributing weight – it has even been tested to 250 tons compression weight per m2. This makes it capable of supporting heavy loads, including storage, garden offices and even workshops as it spreads the weight over a larger area. With Bodpave, you’ll be able to aid in gravel retention, and ensure that your shed remains stable, even with frequent use and extreme weather conditions.
Environmentally Friendly
Manufactured using recycled plastic, Bodpave is an environmentally sustainable alternative to traditional concrete slabs as it is made from 100% recycled high density polyethylene, giving it a much lower carbon footprint. It is also non-toxic and chemically inert. The permeability of Bodpave also helps to maintain natural water flow, reduce surface water runoff and prevent soil erosion, which helps to benefit the environment and local ecosystems.
Cost-Effective Installation
Unlike concrete or paving, which require significant groundwork, BodPave is lightweight and easy to install, requiring minimal excavation. This means it can be fitted without needing to hire professionals, and can be done by any DIY’er. It is also far easier to install than concrete, minimising installation time and costs.
Longevity
BodPave bases are guaranteed to last. Because air can flow and move around the base of your shed, it will prevent rotting and add years to the lifespan of the shed on the base. It is fully UV stable and we guarantee that it will last 10 years. You also won’t have to worry about extreme temperatures causing damage to your shed base, as BodPave will continue to work within a temperature range of -40°c to 40°c.
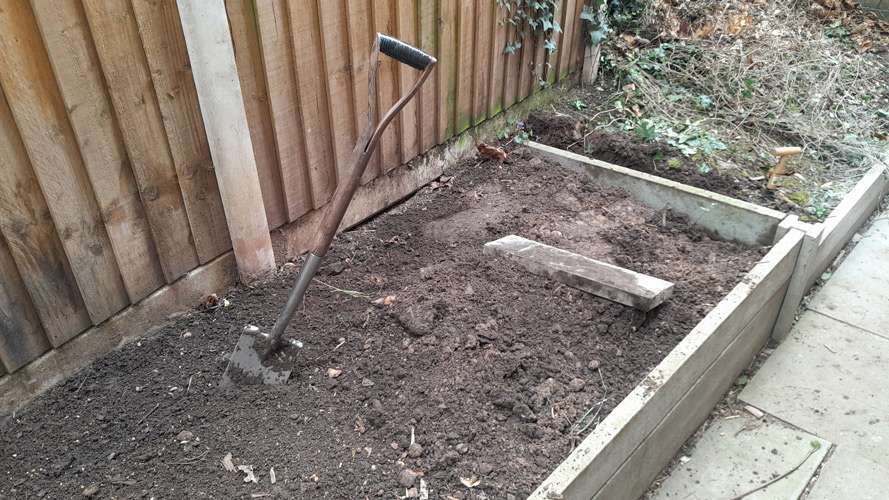
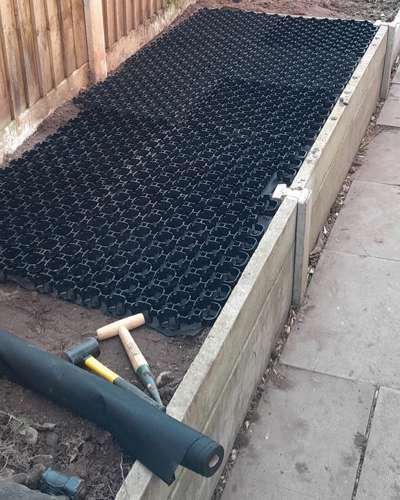
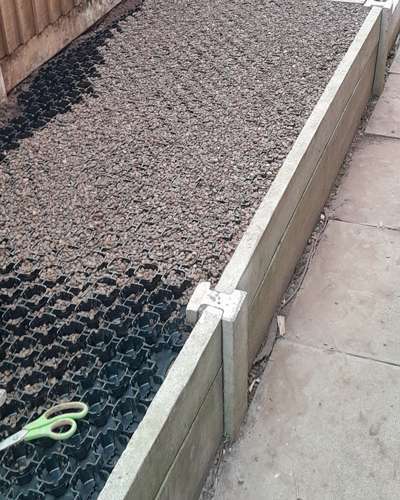
How to Install a BodPave Shed Base
Using Bodpave as a shed base is remarkably straightforward, requiring minimal tools and effort. Here’s how:
Step 1 – Prepare the Ground
- Mark out the area where you plan to install your shed. Measure the dimensions of your shed and add a small border (around 50mm) for a secure foundation.
- Remove any grass, weeds or debris from the marked area. You’ll need to dig down approximately 50-100mm (2-4 inches) to create a level surface.
- Use a spirit level and a rake to ensure the ground is as flat as possible. Uneven ground can lead to instability over time.
- Compact the soil using a tamper or roller to create a firm base.
Step 2 – Install the BodPave Grids
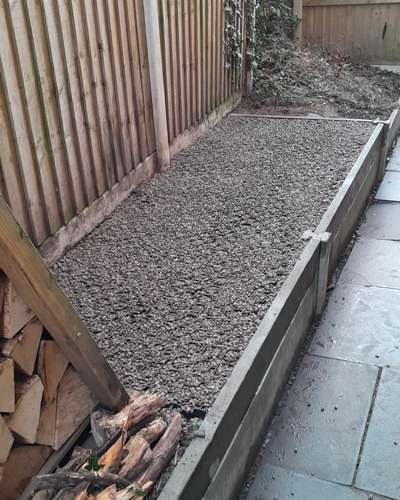
- Lay the BodPave grids over the prepared surface, ensuring that the interlocking grids are correctly aligned. Each tile can be clipped to other adjoining tiles so that you can create a base of any size to suit the size of your shed, they should fit snugly together to create a seamless and secure base.
- Trim any excess grids with a handsaw if needed to fit the exact dimensions of your shed.
Step 3 – Fill the Grid
- Once your grids are in place, fill them with gravel or pea gravel for a firm and durable surface.
- Use a rake to distribute the filling evenly, and compact it lightly to ensure maximum stability.
Step 4 – Install Your Shed
- Once the BodPave base is settled and filled, carefully place your shed on top.
By using Bodpave to secure your shed base, you’ll have a reliable base that will last you for years to come. No matter what kind of shed you need, from a workhouse to a summerhouse, Bodpave will ensure that your shed is well supported – plus it’s sure to blend in seamlessly with the rest of your garden.

