
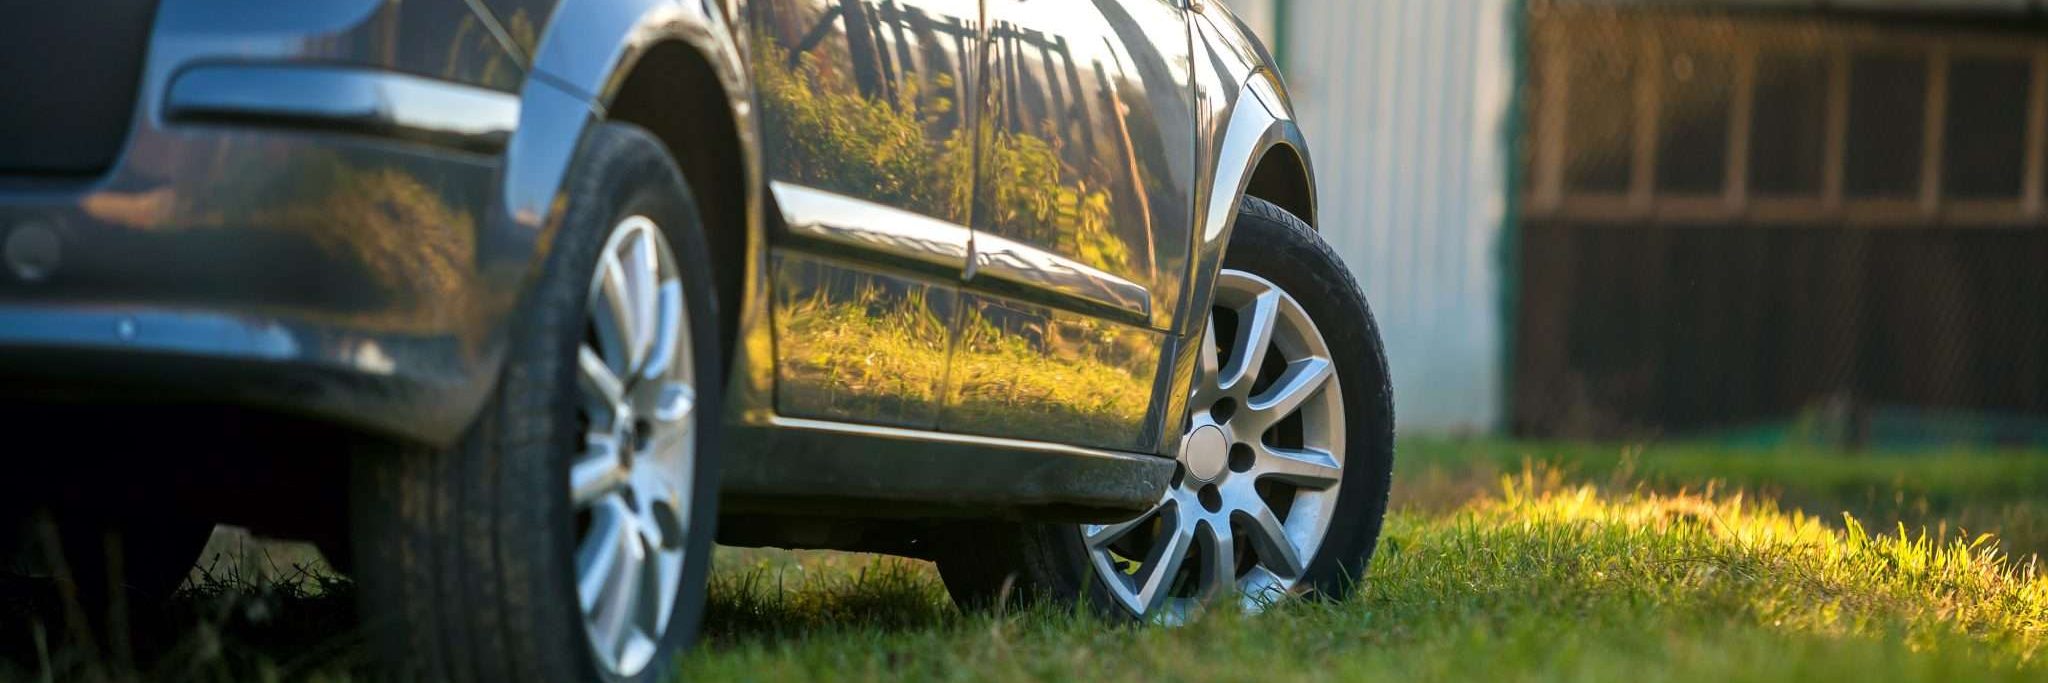
Benefits of Grass Reinforcement Mesh
Grass reinforcement mesh is made from high density polyethylene, which means it is a non-toxic alternative for supporting grass. It has a number of benefits, including:
- Supporting vehicles and enhanced foot traffic without damaging lawns.
- Encouraging grass growth with enhanced stability for the grass root structure whilst maintaining a natural look.
- Easy installation with minimal disruption.
- Our plastic mesh acts as a permeable drainage layer, so the water can pass through easily.
Tools & Materials Needed
The installation guidelines of grass protection mesh are fairly minimal, and to install you don’t need much.
To install grass reinforcement mesh, we recommend:
- The protection mesh
- Pegs or pins (we recommend using metal u-pins, as they prevent movement of the mesh, ensuring it remains stable and secure.)
- A rake and lawn mower
- Thick gloves
- Steel club hammer
- Knee pads
- If cutting, use a rip saw or circular saw and branch loopers.
It is also a good idea to have extra turf on hand or additional top soil as the mesh needs to lay flat to be effective.
Step-by-Step Installation
Here’s how to install grass reinforcement mesh:
Step 1: Preparation
When preparing to lay protection mesh, it’s important to prepare the ground properly and assess what might be required.
Drainage
In order to support the grass root structure, the plastic mesh needs to be laid on reasonably well draining land as otherwise the ground could become soft and pliable, leading to a compromised mesh system.
Evenness
Gentle undulations in the region are usually acceptable but abrupt ruts and raised areas will need filling in/levelling out and re-turfing.
Laying turf rather than re-seeding is more time efficient as seeding can take a whole growing season to develop a robust root system.
Grass health
When installing turf reinforcement mesh, you need to ensure the grass is strong, robust and well established to provide a secure hold for the steel u pins and to add strength to the mesh.
Grass length
It’s advised to mow the grass prior to installation to ensure that the plastic mesh lays tight against the ground, to allow the swiftest entanglement between the grass roots and the mesh.
Step 2: Installation
We recommend at least 2-3 people to install grass reinforcement mesh rolls, as they can become heavy once open.
- Cut to size and unroll the mesh – if necessary, use a rip saw or circular saw and branch loopers, not Stanley knives. When you’re on site, cut the securing bands on the rolls and allow the roll to unwrap. At this point, it would be best to turn the roll upside down to avoid the roll curling back up.
- Lightly pin at the ends of the roll and allow the roll to relax for up to an hour. If several rolls are being laid it would be best to pin out as many rolls as possible so that they can relax into position.
- Pin the rolls securely to the ground using the metal U pins. Although site conditions may vary, it is best too pin every 300 to 400mm on the edges with a centre pinning every 400 to 600mm.
If more than one roll is being installed, please butt the rolls together – do not overlap. Pin across the rolls joining them together.
After installation is completed, it is best to keep some pins back to allow extra pinning if required to make sure the mesh is tight against the ground.
Post Installation Guidelines
In order for your grass reinforcement mesh to become a reinforced surface that can be used for car parks or pathways, here are a few suggestions:
Cutting the grass
Cut the grass up to seven times before use to allow the mesh to fully entangle with the grass and reach its optimal strength. This will encourage the grass to become interwoven with the mesh. It’s best to continue to cut the grass regularly.
As long there is existing grass the mesh can be used without full entanglement, but allowances must be made for amount of use, as the mesh will not be up to its full working strength.
Weather considerations
If the mesh is installed in hot weather and is open to the sun, there is likely to be expansion and rippling. Once temperatures have cooled back down, this should virtually disappear.
Use
Our reinforcement mesh has been designed to allow traffic up to the weight of seven and a half tonnes, making it a great option for green spaces, pedestrian walkways, play areas, car parks, overflow parking, etc. However, it will not work with HGV vehicles or forklifts as the weight will break the mesh – in these instances we would advise our bodpave or truckpave products. Any car movement on the mesh should be limited to 5mph. The main cause of unnecessary attritional damage is caused by excess speed on the wetter, cooler days.
The reinforcement mesh will work to its optimal abilities when the grass is strong and healthy. It is strongly advised to fertilise grass in the spring and autumn to maintain a lively growth and a tough grass root structure.
Our installation guide is available to help you make sure you install the grass reinforcement mesh correctly, but should you require help, get in touch with our technical team for more information.

